How I Build Websites As A Marketer With No Technical Background
January 2, 2025
The thing about the internet is that you have a lot of ideas you want to bring to life. A landing page for a side project. A personal site to establish credibility. A blog to share what you've learned. A portfolio to showcase your work. The ideas accumulate faster than your ability to execute them, and the friction of execution becomes the bottleneck.
For most marketers, this friction takes the form of platform limitations and recurring costs. You want to build something, so you look at your options, and every option comes with trade-offs that feel specifically designed to slow you down.
WordPress requires hosting through Bluehost or GoDaddy or one of the dozen other providers that have built businesses around making simple things complicated. You pay for hosting, you pay for themes, you pay for plugins, and then you spend hours fighting with a page builder that was designed in 2008 and hasn't meaningfully evolved since. The backend is a maze of settings panels. The frontend is a compromise between what you wanted and what the theme allows. And the moment you want to do something slightly outside the template's assumptions, you're stuck.
Carrd is easy, genuinely easy, but it only allows one page. Which is fine if you're building a simple link-in-bio or a waitlist page. It's not fine if you want a homepage, an about page, and a blog with multiple posts. The one-page constraint isn't a bug—it's the business model. They want you to upgrade or look elsewhere.
Webflow and Framer are great. I mean that sincerely. They're powerful, flexible, and they produce professional-looking results. But they cost money, and the costs compound. Framer starts at $15/month per site. Webflow starts at $14/month for their basic plan and scales up quickly if you need CMS functionality. If you're building multiple projects, or if you're just experimenting with ideas that might not go anywhere, the monthly fees add up to a number that's hard to justify.
Here's a comparison of the options most marketers consider:
| Platform | Pros | Cons |
|---|---|---|
| WordPress | Flexible, huge ecosystem, SEO-friendly | Requires hosting ($5-30/mo), complex admin, security vulnerabilities, slow without optimization |
| Carrd | Dead simple, cheap ($19/year), fast to build | One page only, limited functionality, can't scale |
| Webflow | Visual builder, professional results, CMS included | $14-39/month per site, steep learning curve, vendor lock-in |
| Framer | Beautiful templates, good animations, React-based | $15-30/month per site, less flexible than code, export limitations |
| Squarespace | All-in-one, good templates, reliable | $16-49/month, limited customization, slower performance |
| Wix | Easy drag-and-drop, lots of features | $17-35/month, bloated code, poor SEO historically |
There's another option that most marketers don't consider because it sounds intimidating: you can just buy a domain, build your own website with code, and deploy it to a platform like Vercel for free. No monthly hosting fees. No plugin conflicts. No platform limitations. Complete control over every pixel and every interaction.
This used to require learning to code, which for most people meant months or years of study before you could build anything useful. That's no longer true. The emergence of AI coding assistants—tools like Cursor and Windsurf—has fundamentally changed what's possible for people who can't write code themselves.
The Case for Building With AI Coding Assistants
I want to be precise about what I'm claiming here, because there's a lot of hype around AI coding and most of it is unhelpful.
I'm not claiming that these tools turn you into a programmer. They don't. I still can't read most code. I don't understand the underlying systems at a deep level. If you showed me a React component and asked me to explain what each line does, I'd struggle.
What I am claiming is that these tools let you build functional websites without understanding the code, as long as you can articulate what you want clearly and iterate through problems methodically.
The workflow looks like this: you describe what you want to build in plain English, the AI writes the code, you see the result, and then you refine through conversation. When something breaks—and things will break—you describe the problem, the AI proposes a fix, and you continue. The process feels less like programming and more like directing a very patient, very knowledgeable contractor who happens to work for free.
The tools that enable this have different names and slightly different interfaces, but they work similarly. Cursor is a code editor built around Claude and GPT integration. Windsurf, made by the same team behind Devin, takes a more conversational approach where you talk to an agent that writes code in a terminal. There are others—GitHub Copilot, Replit's AI features, various IDE extensions—but Cursor and Windsurf are the ones I've used most extensively.
I settled on Windsurf for reasons that are mostly about personal preference. I like that it operates through a terminal interface rather than a traditional code editor. I like that I can see the agent working—running commands, creating files, making decisions—rather than having code appear in an editor that I don't fully understand how to navigate. The visibility makes the process feel less like magic and more like collaboration.
But the tool matters less than the approach. What matters is understanding that these tools exist, that they work well enough to be useful, and that the learning curve is measured in hours rather than months.
Why I Chose SvelteKit (And Why You Might Choose Something Different)
Before I walk through how I built my personal site, I need to address the question of which technology stack to use. This is where a lot of people get stuck before they even start, paralyzed by the options and the fear of choosing wrong.
The honest answer is that the specific framework matters less than you think. React, Vue, Svelte, plain HTML—all of them can produce a personal website that looks good and works well. The AI assistants can write code in any of these languages. The differences between them are real but mostly relevant to professional developers building complex applications.
That said, I did make a choice, and I'll explain why.
When I first started experimenting with AI coding, I tried to build with React and a UI library called Shadcn. This is a popular combination that many developers use, and there's a lot of documentation and examples available. But I ran into problems almost immediately.
React is powerful but complex. The setup process involves multiple configuration files, build tools, and dependencies that can conflict with each other. When something goes wrong—and something always goes wrong—the error messages are often cryptic and the fixes require understanding concepts that I don't have the background to understand.
I switched to SvelteKit, and the difference was immediate. Svelte is a simpler framework with less boilerplate. The file structure makes intuitive sense: if you want a page at /about, you create a folder called "about" with a file called "+page.svelte" inside it. The syntax is closer to plain HTML, which means even someone like me can look at the code and have a rough sense of what it's doing.
SvelteKit also has excellent documentation and a welcoming community. When I searched for solutions to problems, I found clear explanations written for people who might not have deep programming knowledge.
If you're starting from zero, I'd suggest Svelte or SvelteKit. If you have some exposure to web development and want access to more resources and tutorials, React with Next.js is the more mainstream choice. If you want the absolute simplest possible setup, Astro is worth considering—it's designed specifically for content-heavy sites like blogs and portfolios.
The point is not to agonize over this decision. Pick one, start building, and accept that you can always rebuild later if you need to. The skills you develop—describing what you want clearly, debugging problems systematically, understanding how web projects are structured—transfer across frameworks.
Case Study: Building biobogore.com From Scratch
Let me walk through exactly how I built my personal website, biobogore.com. I'm going to include the actual prompts I used, the errors I encountered, and the decisions I made along the way. This is meant to be practical and replicable, not inspirational.
Setting Up the Project
I started with an empty folder on my computer. In Windsurf, you work inside a directory, and the AI assistant has access to read and modify files in that directory. The first thing I needed to do was create that folder and point Windsurf at it.
I opened Finder on my Mac and created a new folder. I named it after the domain I planned to use—in my case, "biobogore." The name doesn't technically matter for the code, but keeping project folders named after their domains makes it easier to stay organized when you have multiple projects.

Then I opened Windsurf. If you're starting fresh, you'll see a welcome screen. Click "Open Folder" and navigate to the empty folder you just created. Select it. Windsurf will open with that folder as your workspace—meaning any files the AI creates will go inside that folder, and any commands it runs will execute in the context of that directory.
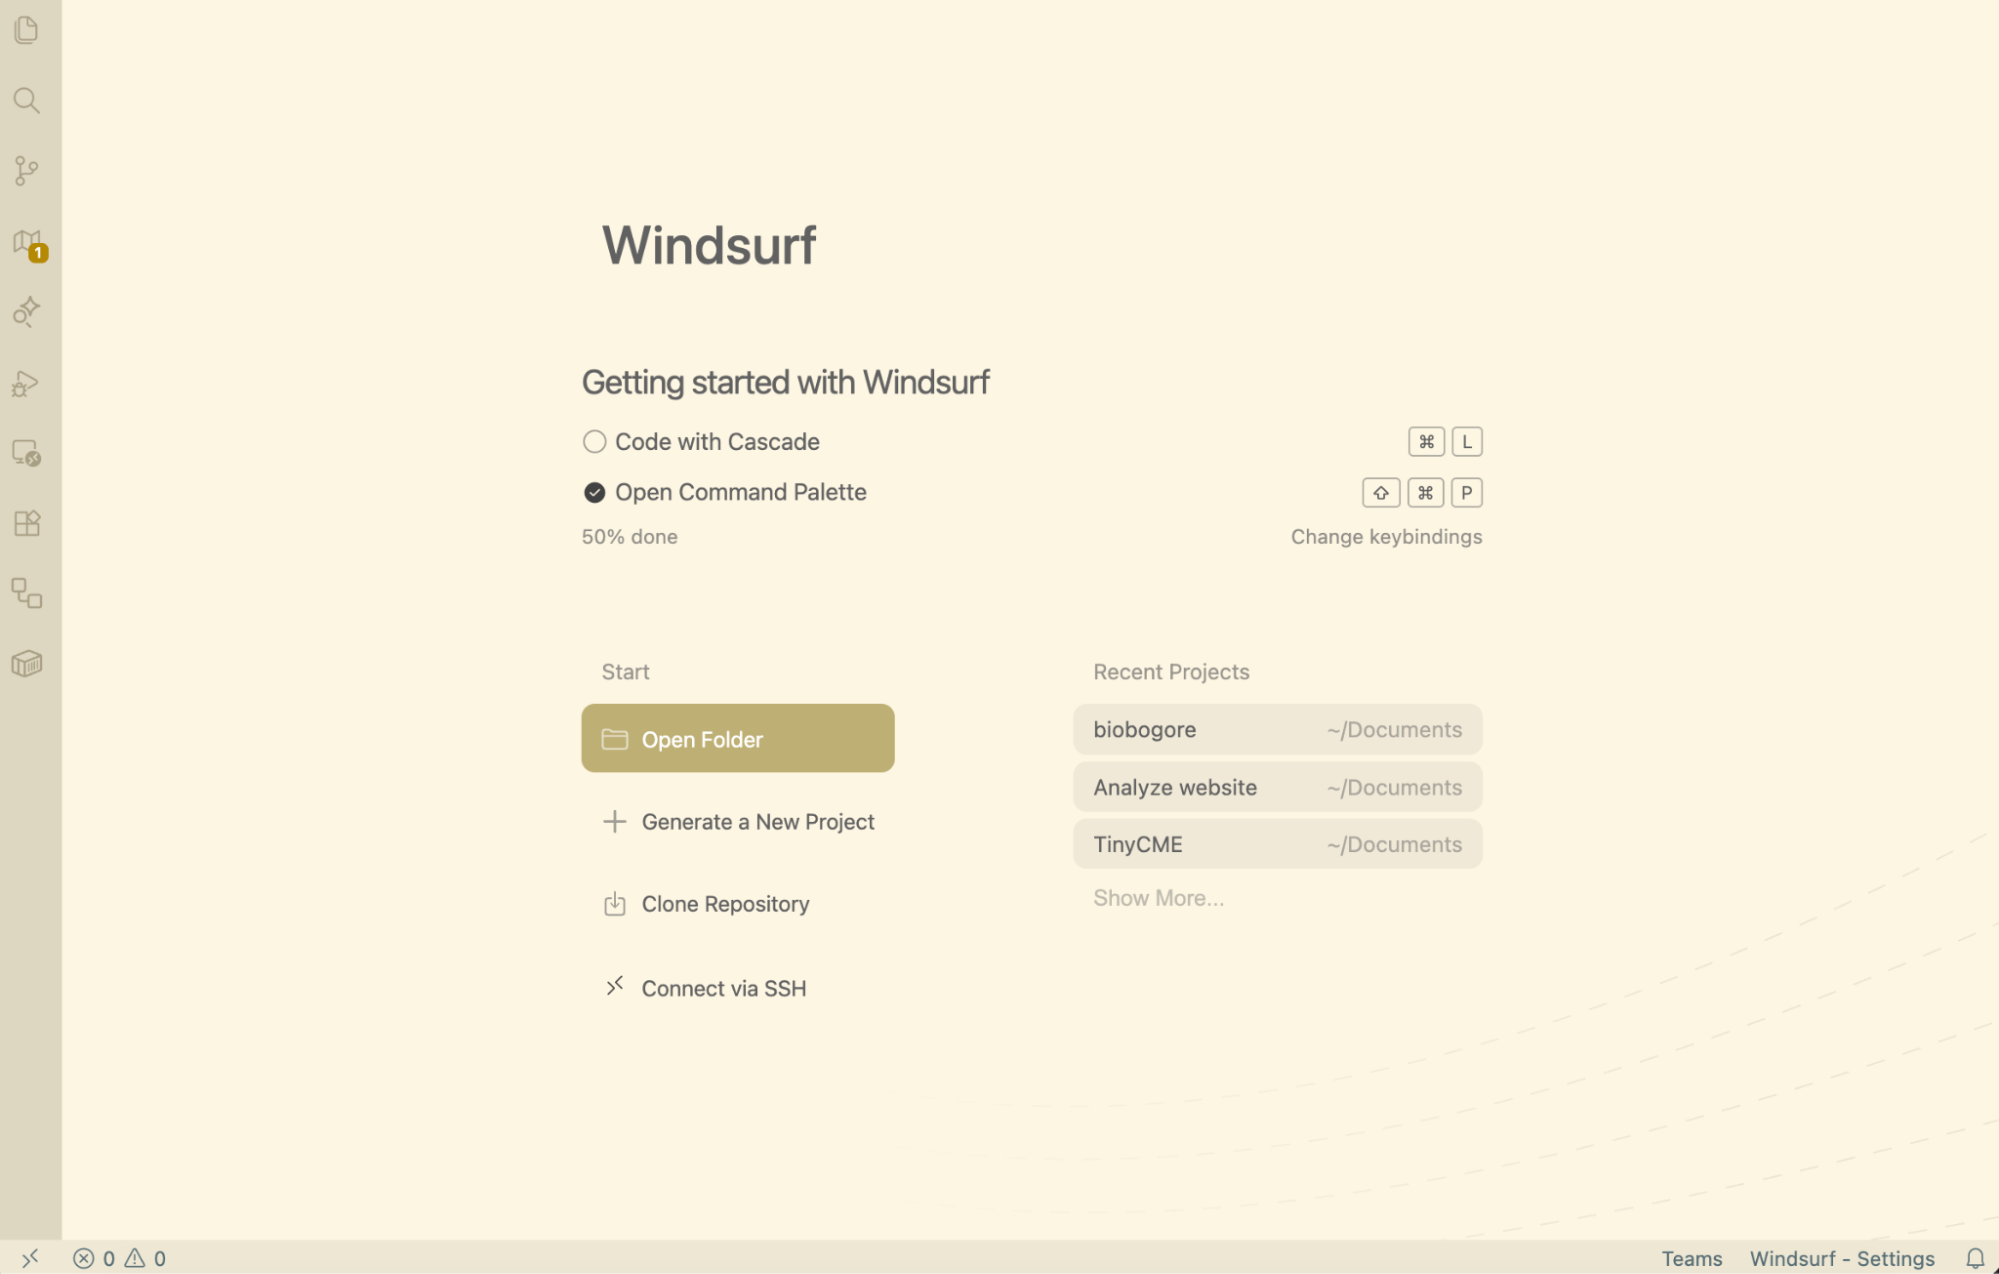
Once the folder is open, click on "Code With Cascade." This opens Windsurf's chat interface, which is where all the actual work happens. You type instructions in natural language, and the AI—in my case, Anthropic's Claude model—interprets those instructions and takes action.
My initial prompt was simple:
"I'm building my personal website. I want to use Svelte/SvelteKit. I want the homepage with a list of blog posts, an about page, and each blog post should have the structure /blog/slug."
The AI immediately started making technical decisions. It decided to use SvelteKit (which I had requested) and began installing the necessary packages. It installed dependencies I couldn't name if you asked me—things like @sveltejs/kit, vite, svelte, and various configuration files. It set up TypeScript support. It created a folder structure with routes for the pages I'd mentioned.
I didn't tell it to do any of this specifically. I didn't know these packages were needed. The AI understood that "I want to use SvelteKit" implied a whole cascade of technical requirements, and it handled them without asking me to make decisions I wasn't qualified to make.
This is the key insight about working with AI coding assistants: you describe what you want at a high level, and the AI translates that into the specific technical implementation. You don't need to know that SvelteKit requires Vite as a build tool, or that TypeScript needs a tsconfig.json file, or that routes are defined by folder structure. The AI knows, and it acts on that knowledge.
The project creation hit a snag almost immediately. The AI tried to install dependencies, but there was a version mismatch between what SvelteKit expected and what my computer had installed. My computer was running Node.js version 20.18.2, but the latest SvelteKit required version 20.19 or higher. The error message looked like this:
npm error code EBADENGINE
npm error engine Unsupported engine
npm error notsup Required: {"node":"^20.19 || ^22.12 || >=24"}
npm error notsup Actual: {"npm":"10.8.2","node":"v20.18.2"}
This is exactly the kind of error that would have stopped me cold a year ago. It's technical, it involves version numbers, and it's not obvious what to do about it. I don't know what "EBADENGINE" means. I don't know why Node.js versions matter. I don't know the difference between npm and Node.
But I didn't need to know any of that. I just watched the error appear in Windsurf's terminal output, and the AI immediately understood the problem. It explained that we needed to use an older version of SvelteKit that was compatible with my Node version, and it ran a different command:
npm create svelte@5 . -- --template skeleton --types typescriptThis worked. The project was created. I still don't know what --template skeleton means or why @5 is different from the latest version. I just know that the AI solved the problem and we moved forward.
After the base project was set up, the AI made another technical decision: it installed Tailwind CSS. Tailwind is a styling framework—it's how you make things look good. I hadn't explicitly asked for Tailwind, but the AI correctly inferred that a personal website would need some way to handle styling, and Tailwind is a popular choice that works well with SvelteKit.
Again, there was a problem. The latest version of Tailwind had changed how it integrates with other tools, and the configuration the AI generated was incompatible. Error messages appeared mentioning "PostCSS" and "ES module syntax"—terms that meant nothing to me.
The AI diagnosed the issue and fixed it by installing an older version of Tailwind and renaming a configuration file:
npm uninstall tailwindcss && npm install -D tailwindcss@3 postcss autoprefixer

mv postcss.config.js postcss.config.cjs
I have no idea what the difference is between .js and .cjs files. I don't know what PostCSS does. But the fix worked, and we moved on.
With the project structure in place and the dependencies installed, I asked the AI to start the dev server:
"Start the dev server so I can preview the site."
The AI ran npm run dev, and a moment later, the terminal showed a local URL: http://localhost:5173. I opened that URL in my browser and saw a blank page—the skeleton of a website, waiting to be filled in.
The whole setup process, including troubleshooting two version conflicts, took about 4 minutes. If I had been doing this manually, following tutorials and making decisions about each package, it would have taken hours and I probably would have made mistakes that were harder to diagnose. The AI handled the complexity and let me focus on what I actually cared about: building the website.
Understanding localhost and the Dev Server
If you've never done web development before, the concept of a "dev server" and "localhost" might be confusing. Let me explain what's actually happening.
When you're building a website, you need a way to preview your changes before publishing them to the internet. The dev server is a program that runs on your computer and serves your website locally—meaning only you can see it, on your own machine.
"Localhost" is just a special address that points to your own computer. When you visit http://localhost:5173, you're telling your browser to connect to a server running on port 5173 of your own machine. The number 5173 is arbitrary—it's just the default port that Vite (the build tool SvelteKit uses) happens to choose.
The dev server does more than just serve files. It watches for changes and automatically refreshes your browser when you modify code. This creates a tight feedback loop: you make a change, save the file, and see the result almost instantly.
One thing that trips people up: if you close your terminal or stop the dev server, your website stops being accessible at localhost. It's not "saved" anywhere that persists. The website only exists while the server is running. This is different from how things will work in production, where your site will be hosted on a server that runs 24/7.
Building the Homepage
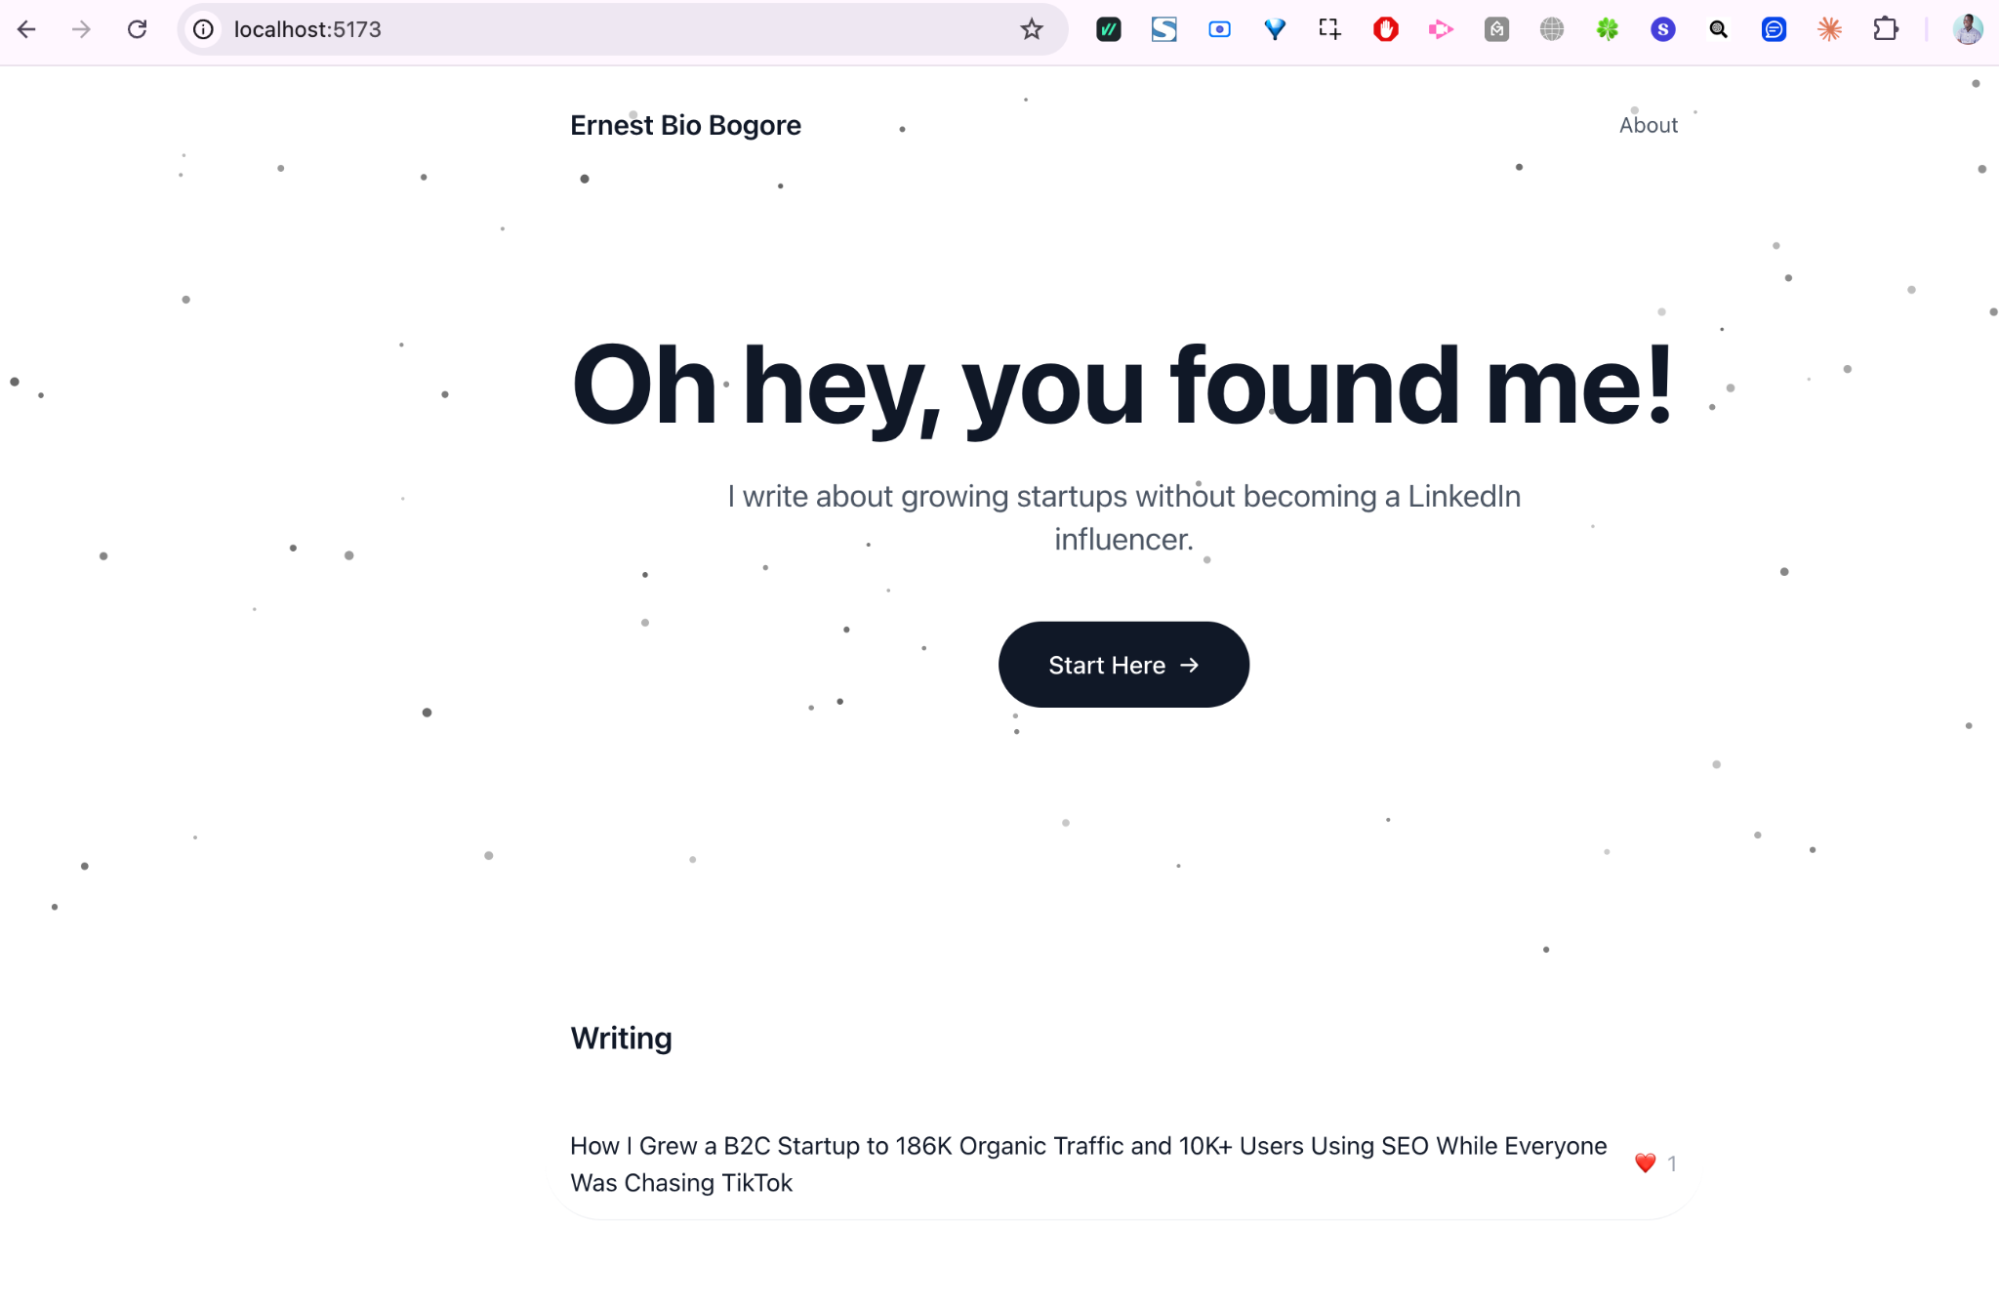
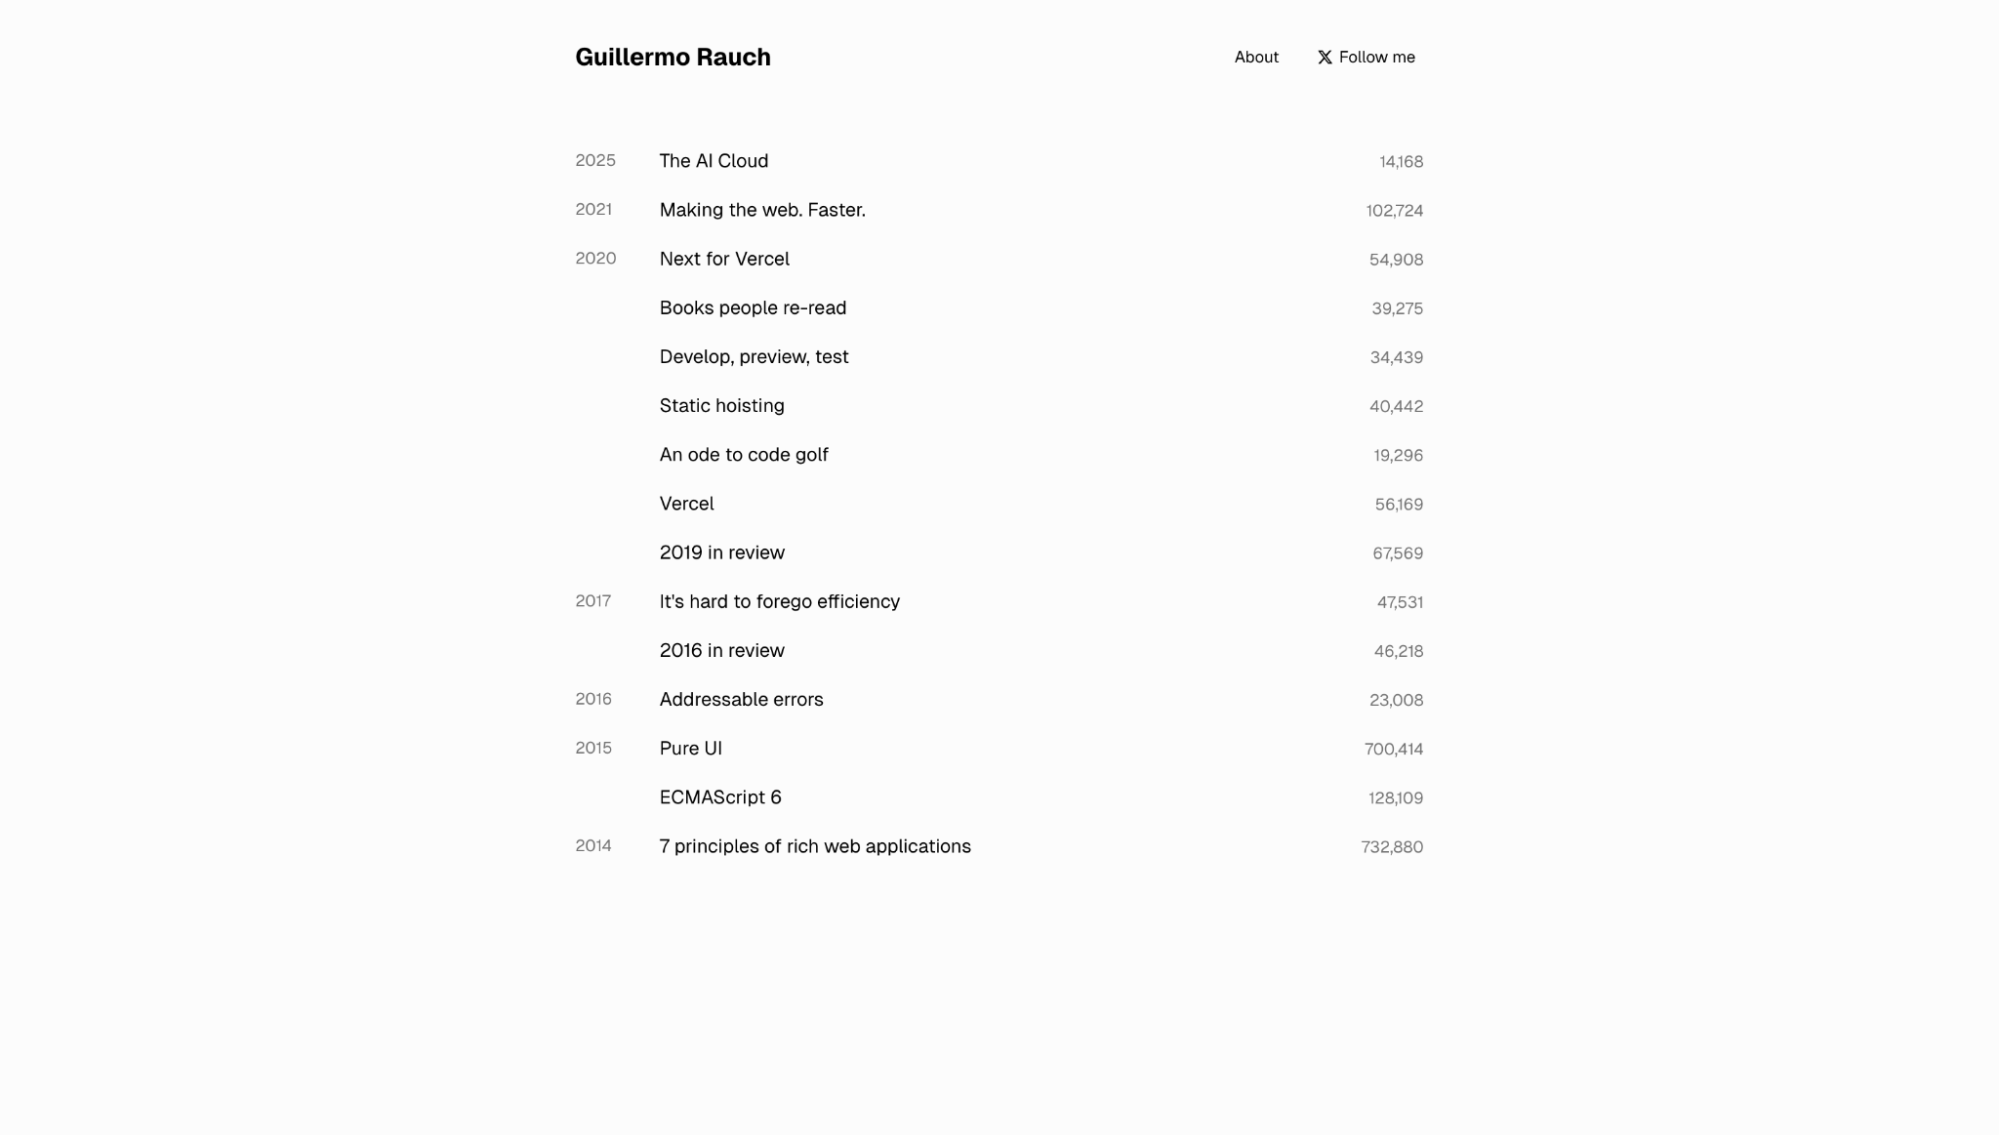
With the project set up, I started building the actual pages. I had a specific design in mind—I'd seen rauchg.com (Guillermo Rauch's personal site) and liked its minimalism. A simple list of blog posts, with the title on one side and some metadata on the other.
My prompt was:
"Let's build the homepage. I want a hero section with a white background and dark dots that move and follow the cursor. The text should say H1 'Oh hey, you found me!' with a subhead 'Welcome to my little world where I share startup growth learnings.' Then a button 'Start Here' that takes you to the about page. Below that, a list of blog posts."
The AI created a particle animation component for the hero—a canvas element with JavaScript that renders small dots that react to mouse movement. It created a basic page structure with the text and button. It created a data file to hold blog post information.
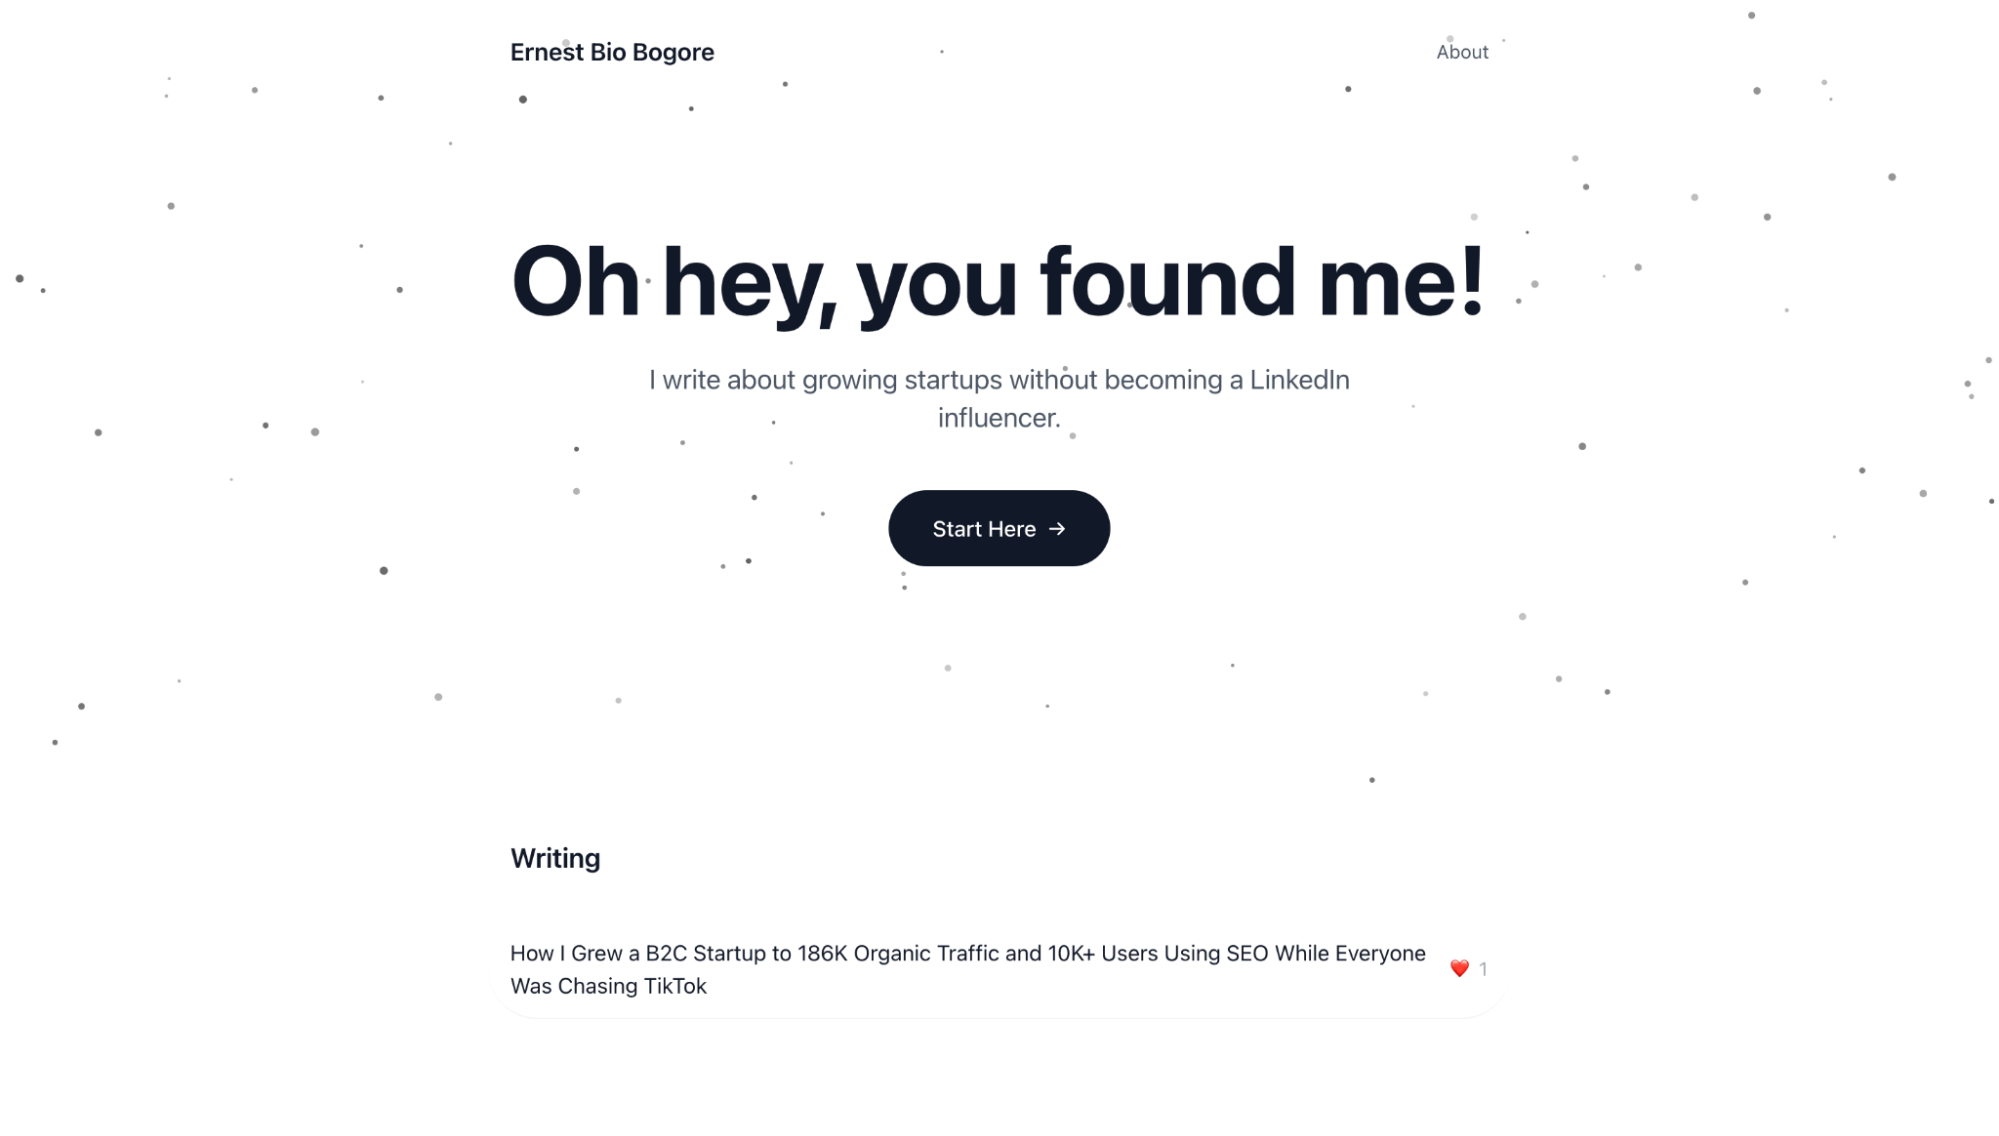
The result was functional but not quite right. The dots in the hero animation were too sparse. The spacing between sections was too large. The blog post list needed a way to show engagement metrics.
This is where the iterative nature of the process becomes important. Building with AI is not about getting perfect results on the first try. It's about rapid iteration—describe what's wrong, let the AI fix it, evaluate the result, repeat.
"Reduce the padding between the hero and the writing section. It's too much."
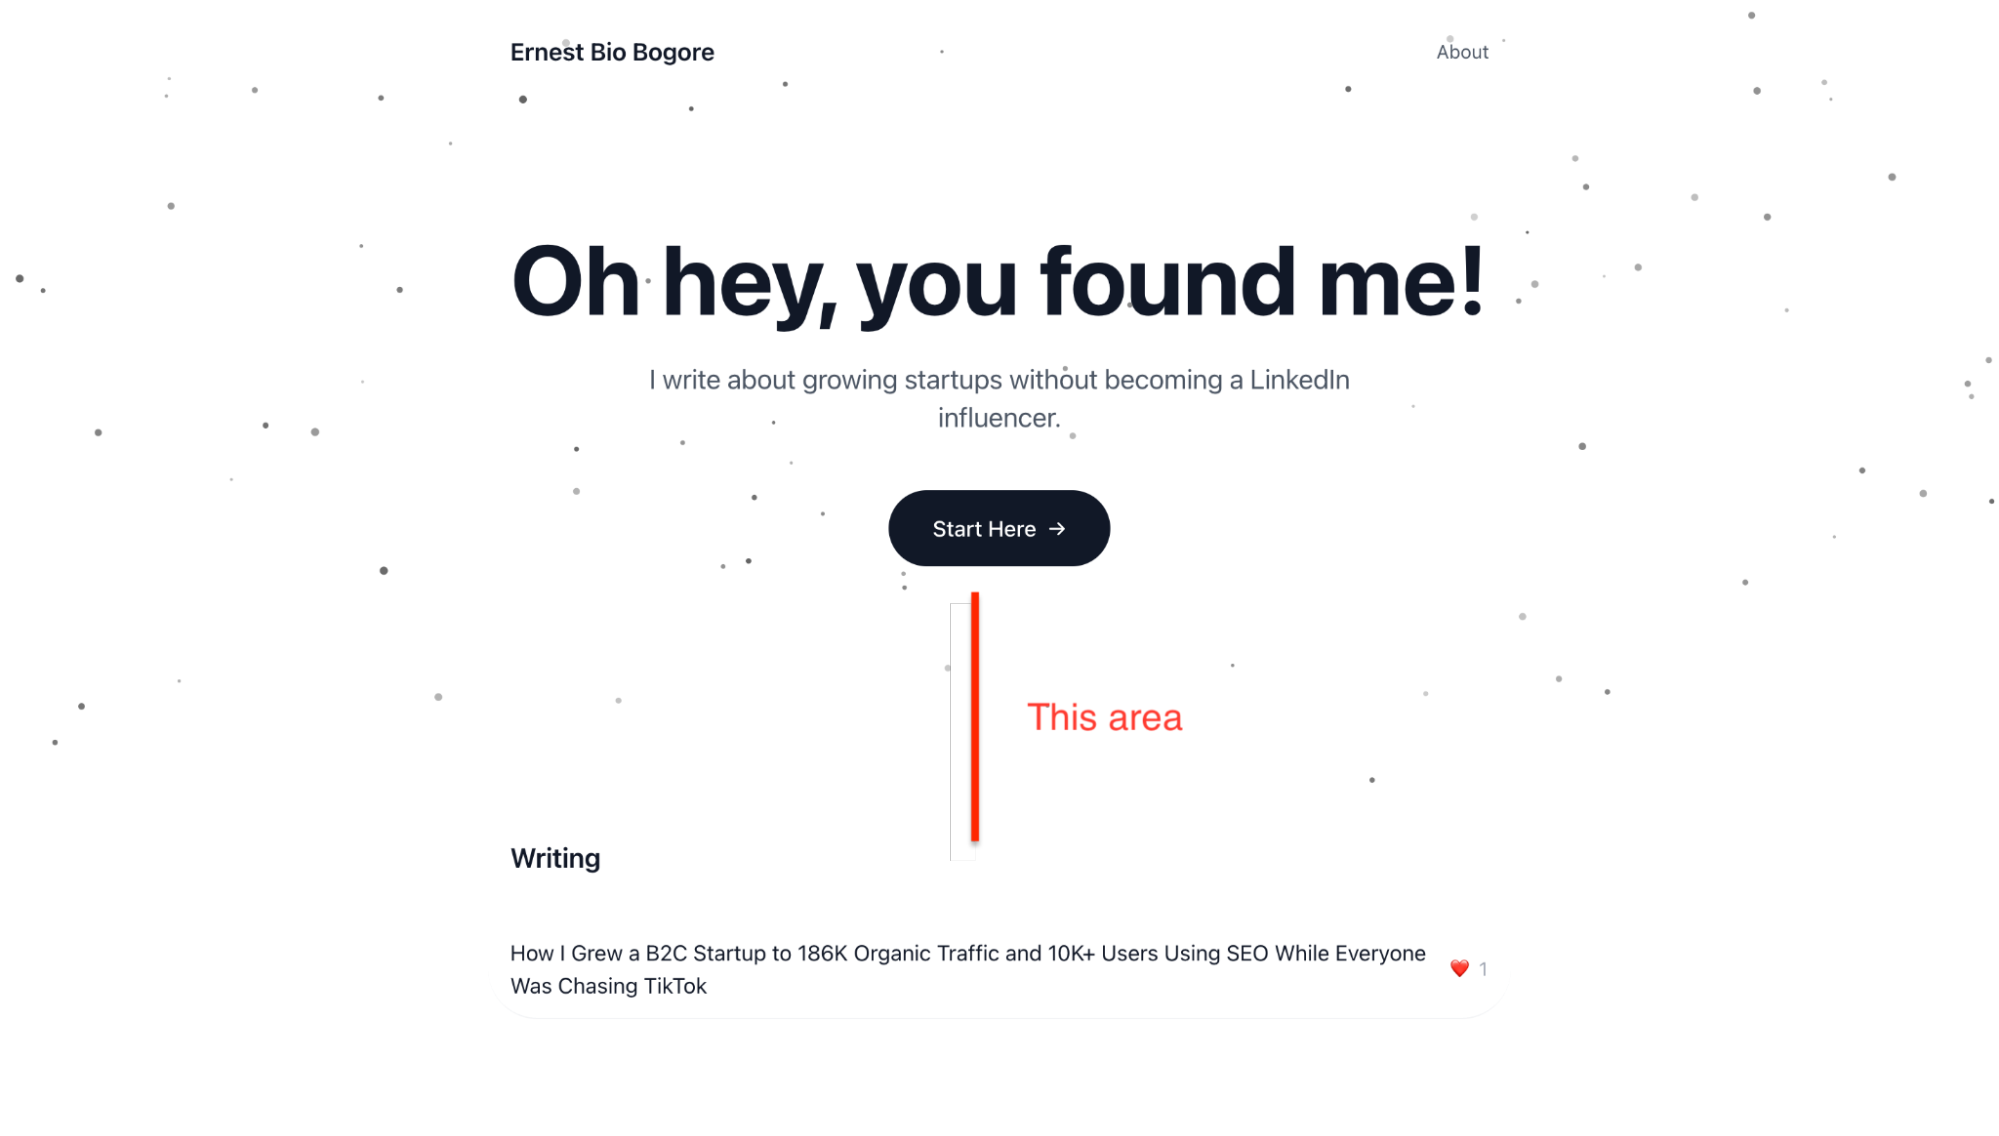
The AI adjusted the Tailwind classes from py-16 to py-8.
"Instead of showing the year published on each post, let's add a heart emoji with a like count. Users should be able to click a heart on the blog post page to show they liked the content."
The AI implemented a localStorage-based like system. When you click the heart on a blog post, it increments a counter stored in your browser. Not a real database—the likes only persist on your own device—but good enough for a personal site that doesn't need real-time engagement tracking.
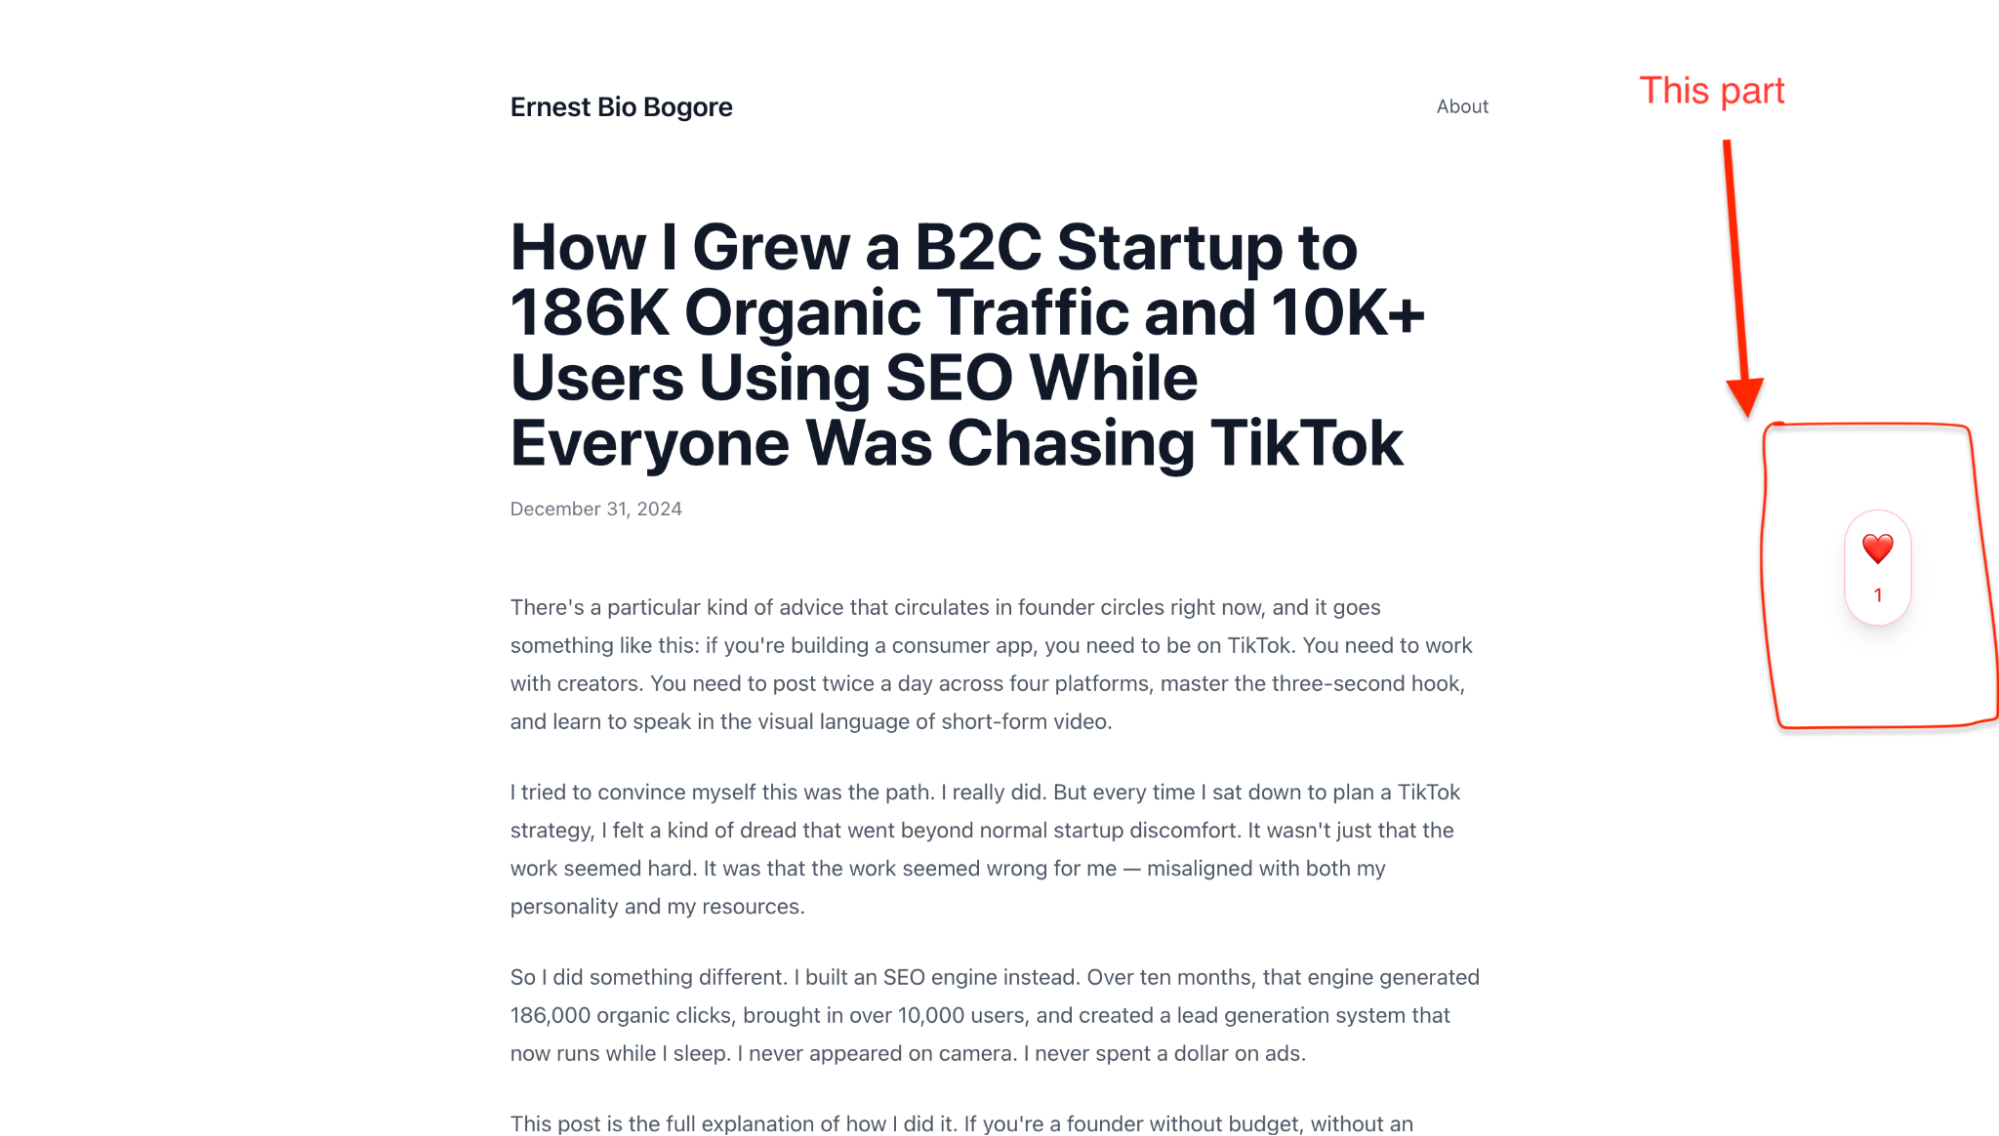
"When I click the heart in the blog post and go back home, the new like count isn't reflected."
The AI fixed the bug by making the homepage read from localStorage when it loads, rather than only using the static data.
Each of these changes took seconds. The AI understood what I wanted, made the code changes, and the dev server updated the browser automatically. The feedback loop was tight enough that I could experiment freely, trying ideas without committing to them.
Building the About Page
The about page required a different approach. I had written a long narrative about my background and what I planned to share on the site. The challenge was making this long text feel readable rather than overwhelming.
My initial prompt referenced a design concept:
"The about page should read like a journey. Have dotted lines that take from one section to the other, like a journey path. This will avoid feeling the length of the text, so people read the whole thing without realizing how much they've read."
The AI's first attempt put the dotted lines on the side of the content, which wasn't what I had in mind. I clarified:
"I mean, the dotted lines should be in the middle between sections, like the dotted lines in a highway. And at scroll, there should be some sort of animations. It lacks some magic."
The second version was much closer. Centered dashes with animated dots between sections. Fade-in effects as content entered the viewport. The page felt like a journey rather than a wall of text.
The iteration continued for small details. I wanted the email address written as "ernest at biobogore dot com" instead of a clickable link. I wanted to change references to specific companies to be more generic. I wanted numbered icons instead of bullet points for my list of accomplishments.
Each request was handled in seconds. The accumulated effect of dozens of small refinements was a page that felt intentional and polished, even though no single change was particularly dramatic.
Setting Up the Blog System
The blog required more technical decisions. I needed a way to write posts, store them, and display them on the site. The simplest approach would be to hardcode each post directly in the code, but that's not scalable and makes editing inconvenient.
I considered several options:
TinyMCE or another rich text editor: This would give me a Google Docs-like writing experience directly in the browser. The AI could build an admin interface where I log in, write posts, and publish them. The downside is complexity—I'd need authentication, a backend to save posts, and more moving parts that could break.
Markdown files: Write posts in plain text with Markdown formatting, store them as .md files in the project, and have the build process convert them to HTML. This is how many developer blogs work. The advantage is simplicity; the disadvantage is that you need to handle images separately.
Export from Google Docs: Write in Google Docs, export as HTML or Markdown, and add the file to the project. This keeps my writing workflow unchanged but adds a manual export step.
I went with Markdown files. The AI set up a content folder structure where each blog post is a .md file with frontmatter (metadata at the top of the file) containing the title, date, and slug. The build process reads these files, converts the Markdown to HTML, and generates the blog listing automatically.
src/
  content/
    posts/
      seo-growth-story.md
static/
  images/
    seo-growth-story/
      image1.png
      image2.png
Images are stored in a separate folder under static/, referenced in the Markdown by their path. The AI wrote a custom Markdown parser that converts the text to HTML with proper styling—paragraphs get the right spacing, headings get the right hierarchy, code blocks get syntax highlighting.
One issue I ran into: the images in my first blog post appeared blurry. The AI had extracted them from a Google Docs export, and they were only 624 pixels wide. I replaced them with higher-resolution versions (1999 pixels wide), and the problem was solved. The lesson is that AI can't fix problems with your source materials—if you give it low-quality images, you get low-quality results.
Deploying to Vercel
Building locally is useful for development, but eventually you need to put your site on the actual internet where other people can see it. Right now, your website only exists on your computer. When you close the dev server, it disappears. No one else can access it. To make it real—to give it a URL that anyone can visit—you need to deploy it.
Deployment requires two things: a place to host the files, and a way to get the files there. The hosting platform I use is Vercel. The way I get files there is through GitHub.
Let me explain both, because if you've never done this before, the relationship between these services is not obvious.
GitHub is a platform for storing code. Think of it as Dropbox or Google Drive, but specifically designed for code projects. It keeps track of every change you make, lets you revert to previous versions, and—crucially for our purposes—connects to other services that can read your code and do things with it.
Vercel is a hosting platform. It takes code from GitHub, builds it into a website, and serves that website to visitors. Every time you update your code on GitHub, Vercel notices, rebuilds the site, and deploys the new version. This happens automatically, usually within a minute or two.
The workflow is: you make changes locally → push them to GitHub → Vercel detects the change and deploys automatically. Once it's set up, you never have to think about deployment again. You just push to GitHub and the live site updates.
Here's how to set it all up.
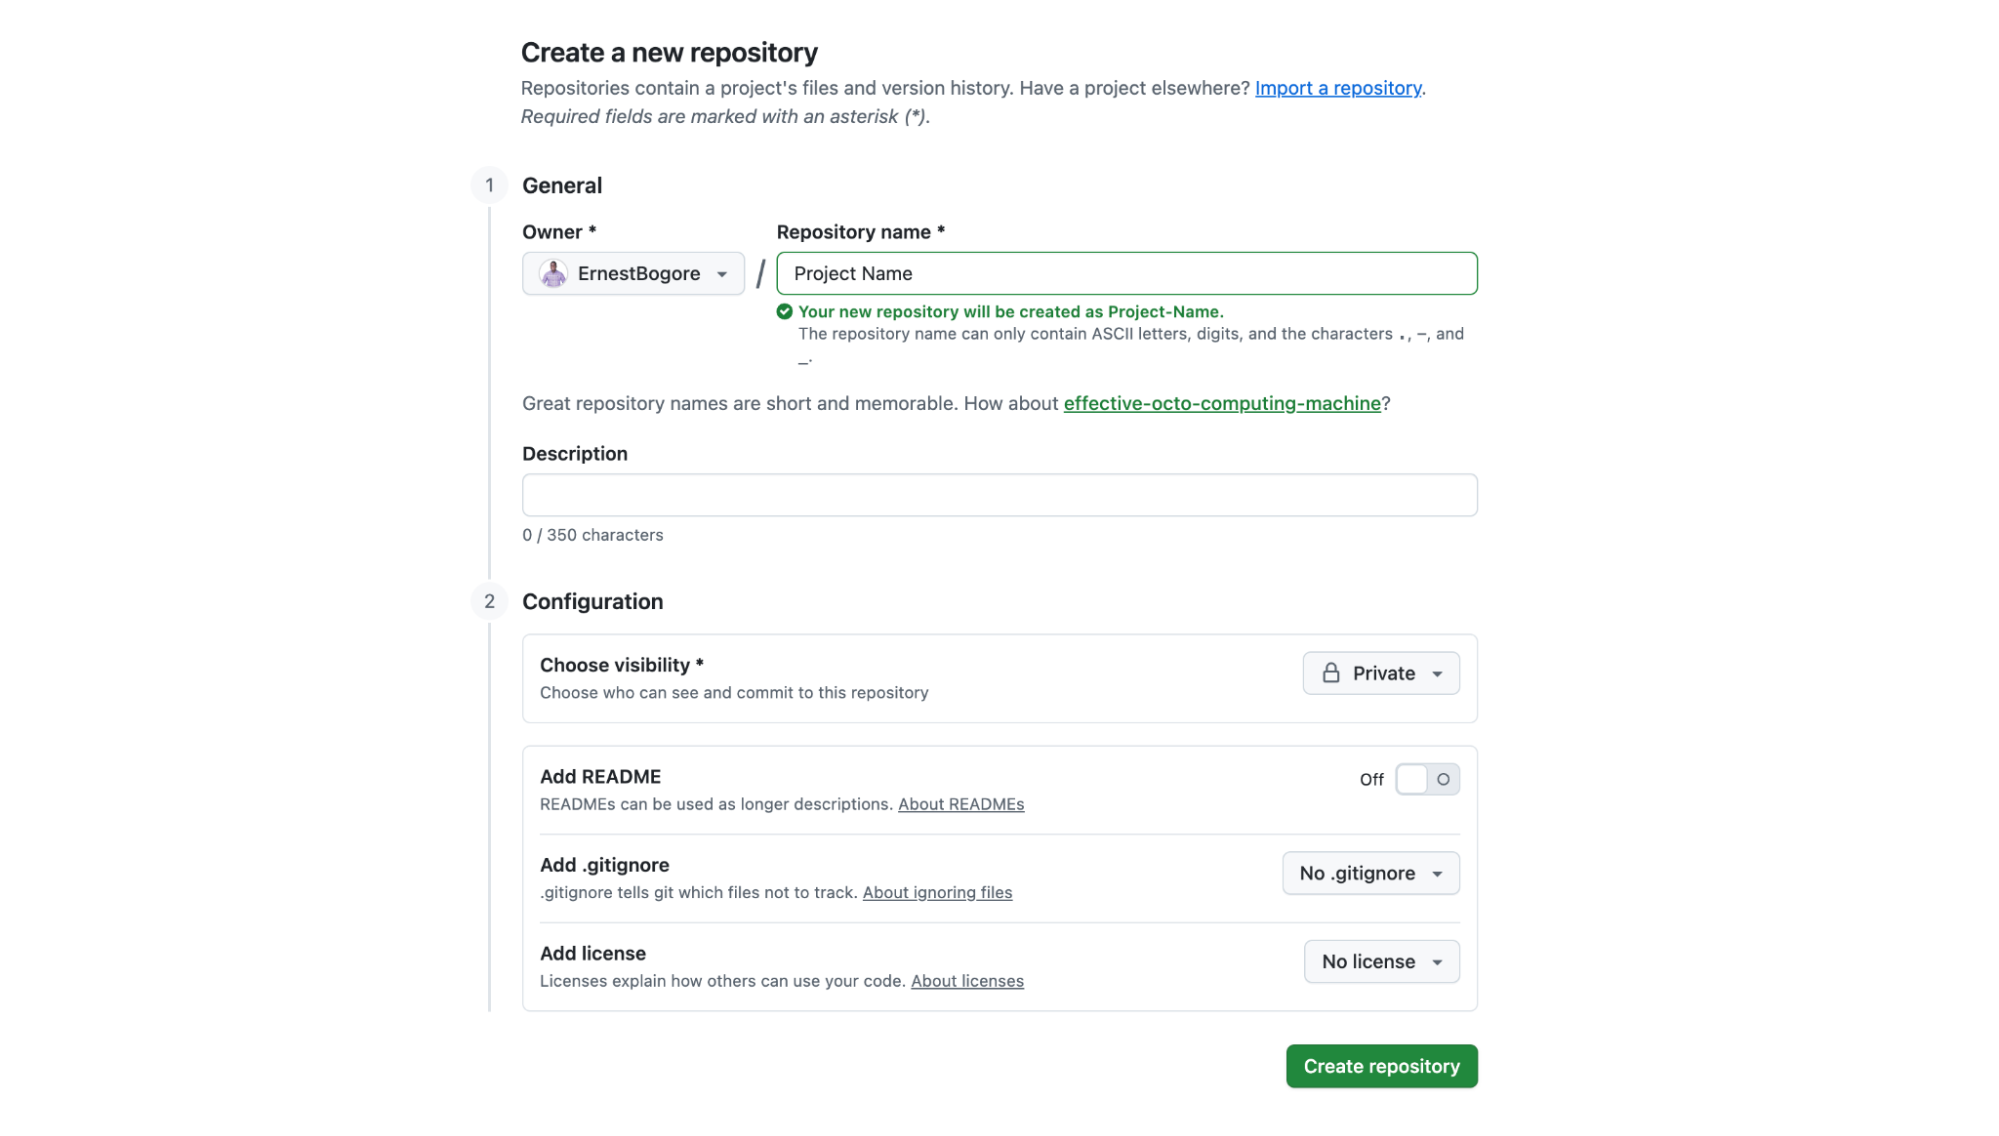
Step 1: Create a GitHub Account and Repository
If you don't have a GitHub account, go to github.com and create one. This is free.
Once you're logged in, you need to create a repository. A repository (or "repo") is just a container for your project's code. Go to github.com/new or click the "+" icon in the top right corner and select "New repository."
Give your repository a name. I named mine "bio-bogore" to match my domain, but the name is arbitrary—it's just for your own organization.
Under "Repository visibility," you can choose Public or Private. Private means only you can see the code. Public means anyone can view it. For a personal website, either is fine. I chose Private because I don't need the world browsing my source code.
Don't check any of the boxes for README, .gitignore, or license. Your project already has files in it, and checking these boxes can create conflicts. Just click "Create repository."
GitHub will show you a page with setup instructions. Keep this page open—you'll need the repository URL in a moment. It looks something like https://github.com/yourusername/your-repo-name.git.
Step 2: Connect Your Local Project to GitHub
Now you need to connect the folder on your computer to the repository you just created on GitHub. This is where Git comes in.
Git is version control software. It tracks changes to your files over time. GitHub is a website that hosts Git repositories. They're related but separate—Git is the tool, GitHub is a service built around that tool.
Your project folder isn't a Git repository yet. It's just a folder with files. You need to initialize it as a Git repository, add your files, create a commit (a snapshot of your project), and push that commit to GitHub.
This sounds complicated, but Windsurf handles all of it. I asked the AI:
"Initialize a git repository, commit all the files, and push to GitHub at https://github.com/ErnestBogore/bio-bogore.git"
The AI ran a sequence of commands:
git init

git add -A

git commit -m "Initial commit: Personal blog with SvelteKit"

git remote add origin https://github.com/ErnestBogore/bio-bogore.git

git branch -M main

git push -u origin main
I'll explain what these do, not because you need to memorize them, but because understanding the concepts helps when things go wrong:
git initturns the folder into a Git repositorygit add -Astages all files to be included in the next commitgit commit -m "message"creates a snapshot of the current state with a descriptiongit remote add origin [url]tells Git where the GitHub repository isgit branch -M mainnames the main branch "main" (this is a convention)git push -u origin mainuploads everything to GitHub
After the push completes, refresh your GitHub repository page. You should see all your project files there.
Step 3: Create a Vercel Account and Import the Project
Go to vercel.com and create an account. The easiest method is to sign up with your GitHub account—this automatically gives Vercel permission to access your repositories.
Once you're logged in, you'll see a dashboard. Click "Add New..." and select "Project."
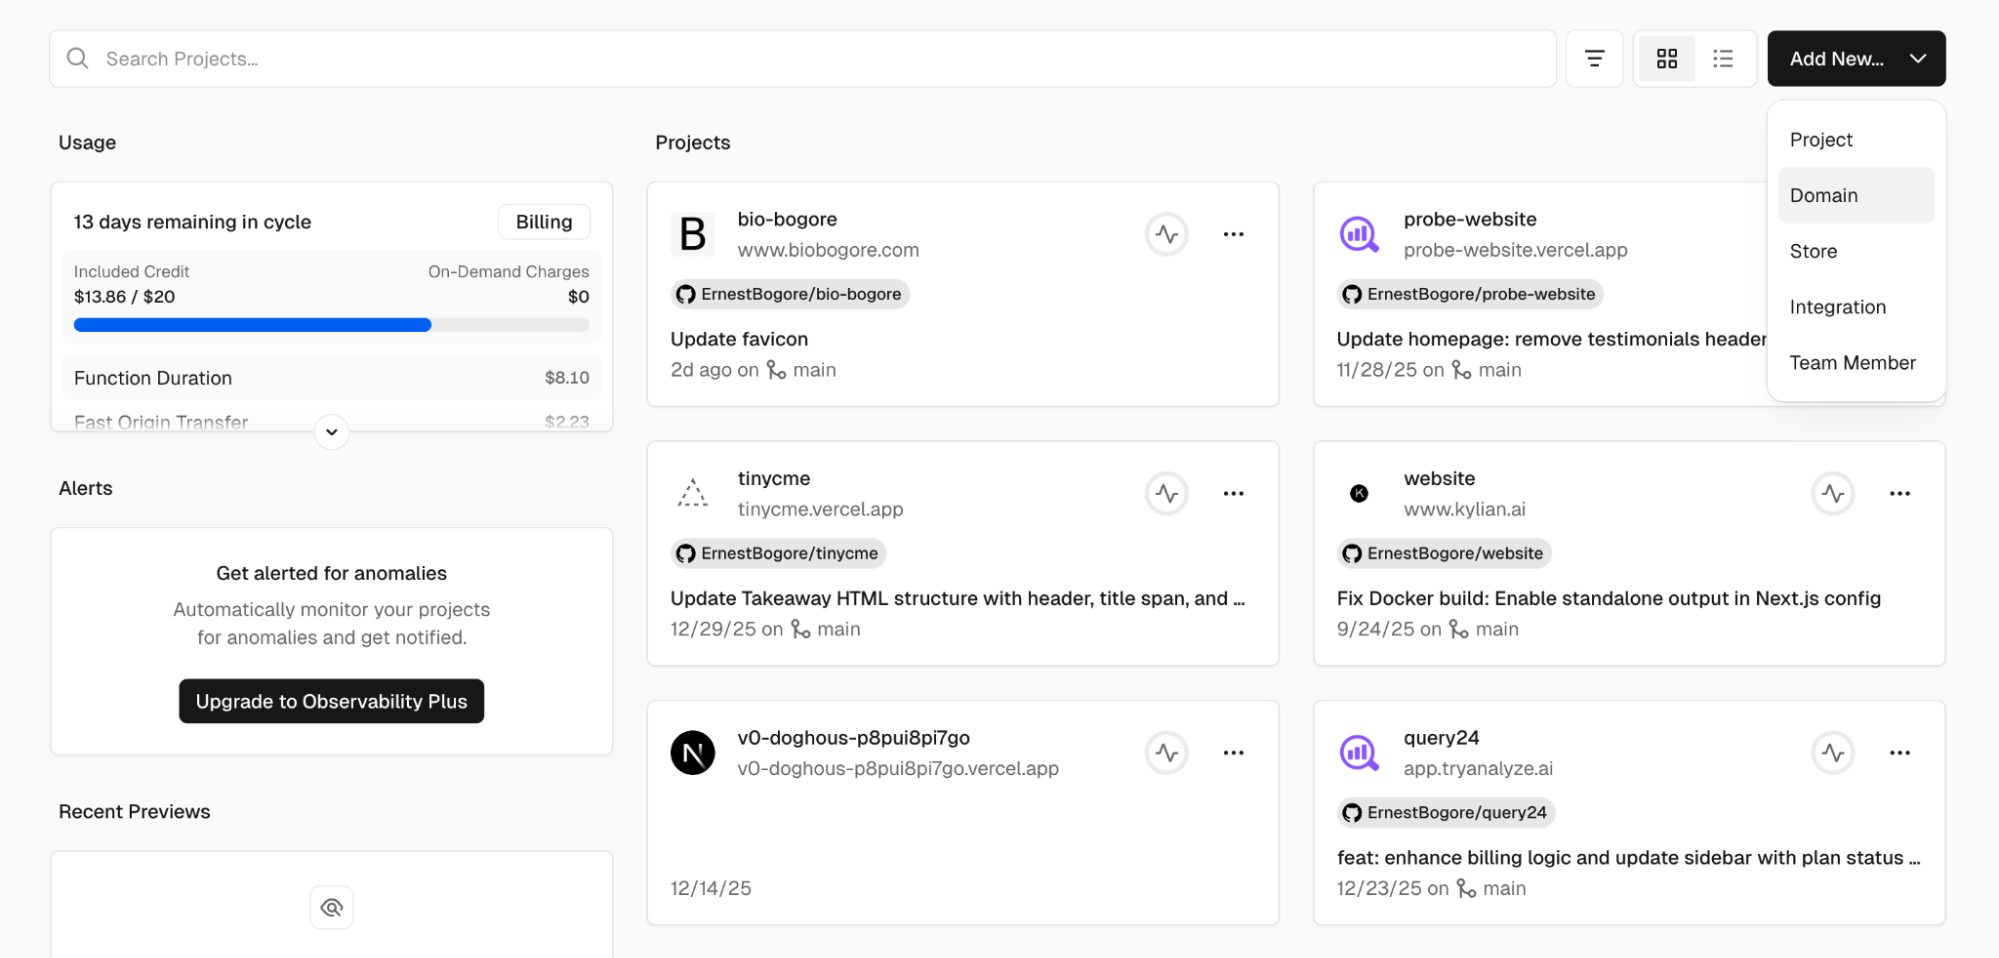
Vercel will show you a list of your GitHub repositories. Find the one you just created and click "Import."
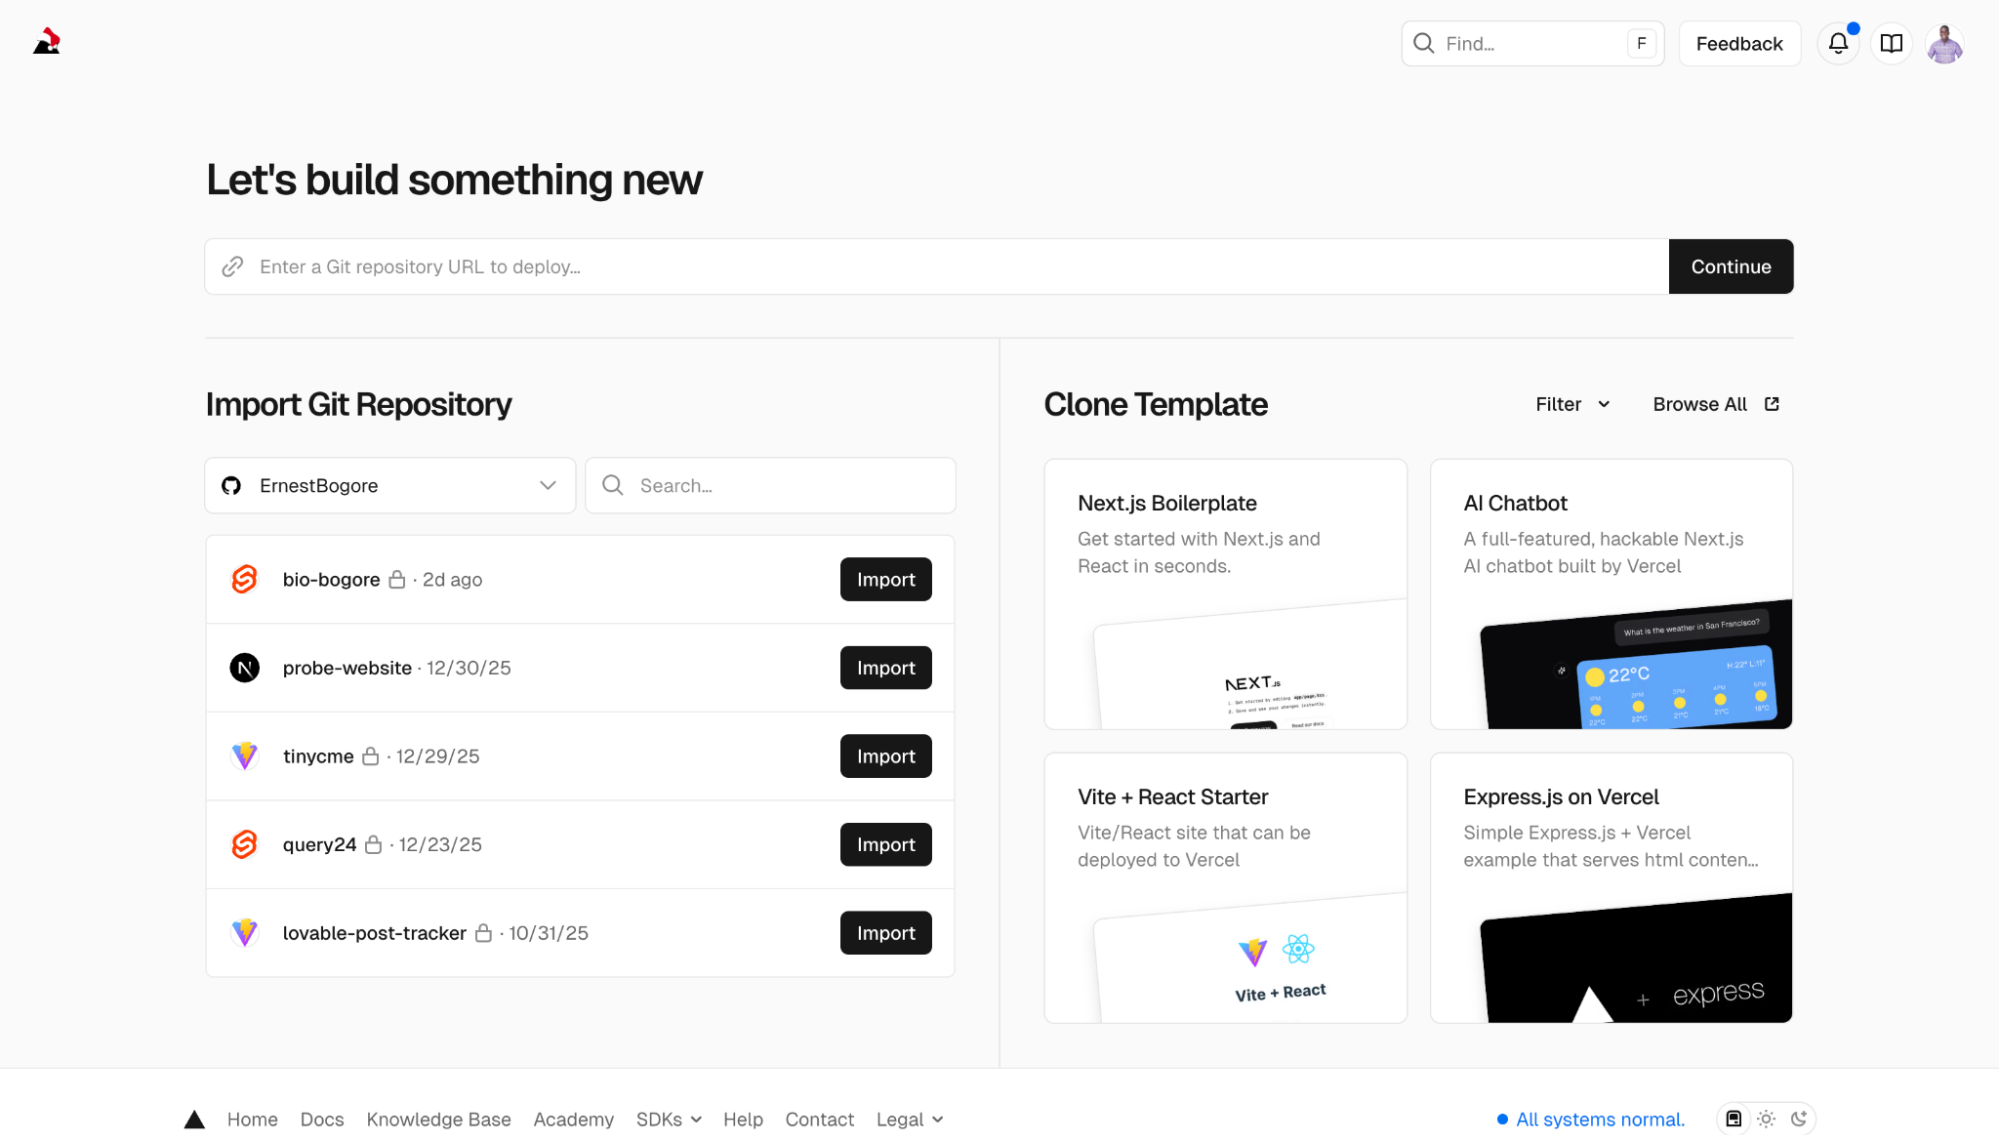
On the next screen, Vercel asks you to configure the project. This is where you need to make one important choice: the Framework Preset.
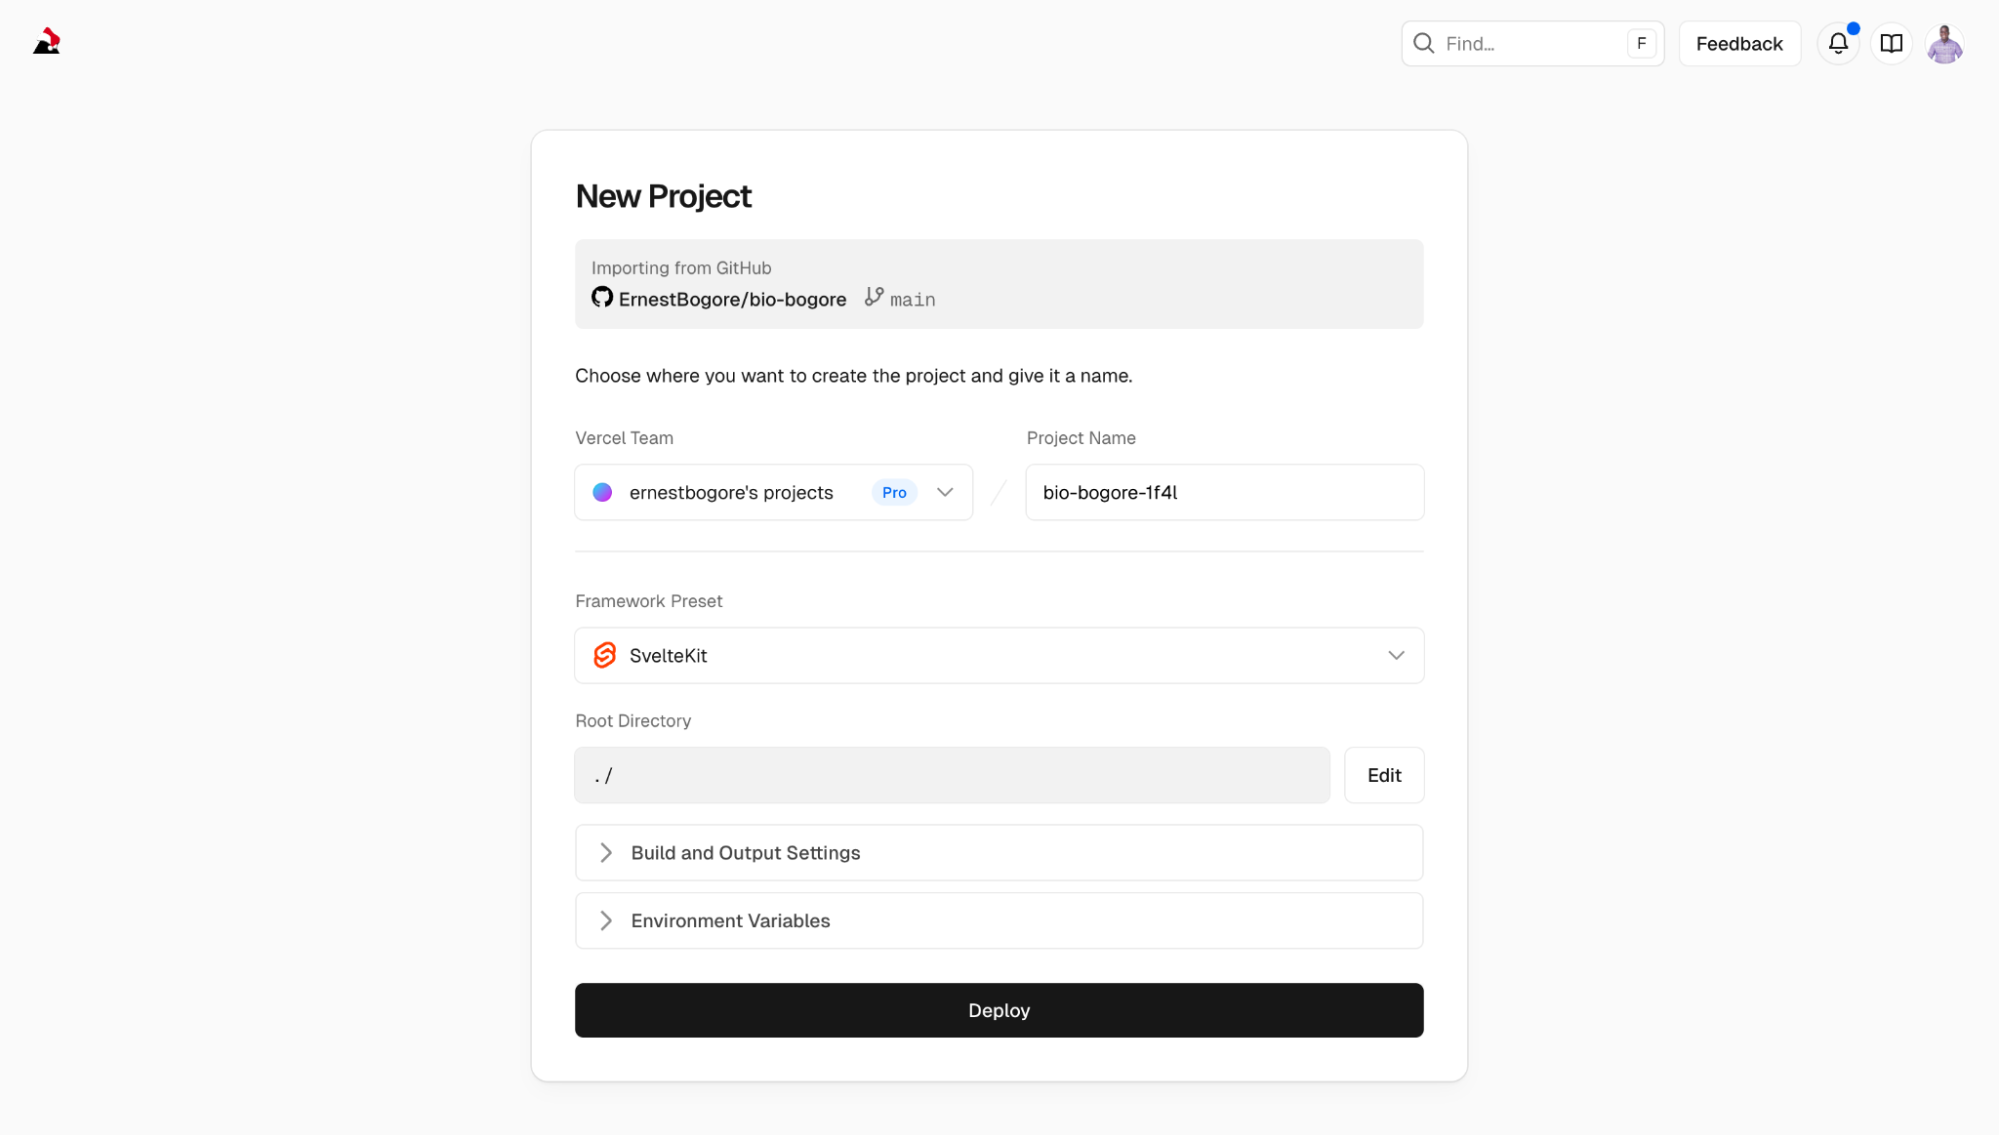
Vercel tries to auto-detect what framework you're using. It should recognize SvelteKit automatically. If it shows "Other" instead of "SvelteKit," change it manually by clicking the dropdown and selecting "SvelteKit." This tells Vercel how to build your project correctly.
The other settings—Root Directory, Build Command, Output Directory—can usually be left at their defaults. Vercel knows how to handle SvelteKit projects.
Click "Deploy."
Step 4: Troubleshooting the First Deployment
My first deployment failed. This is normal. Deployment surfaces issues that didn't appear during local development because the server environment is different from your computer.
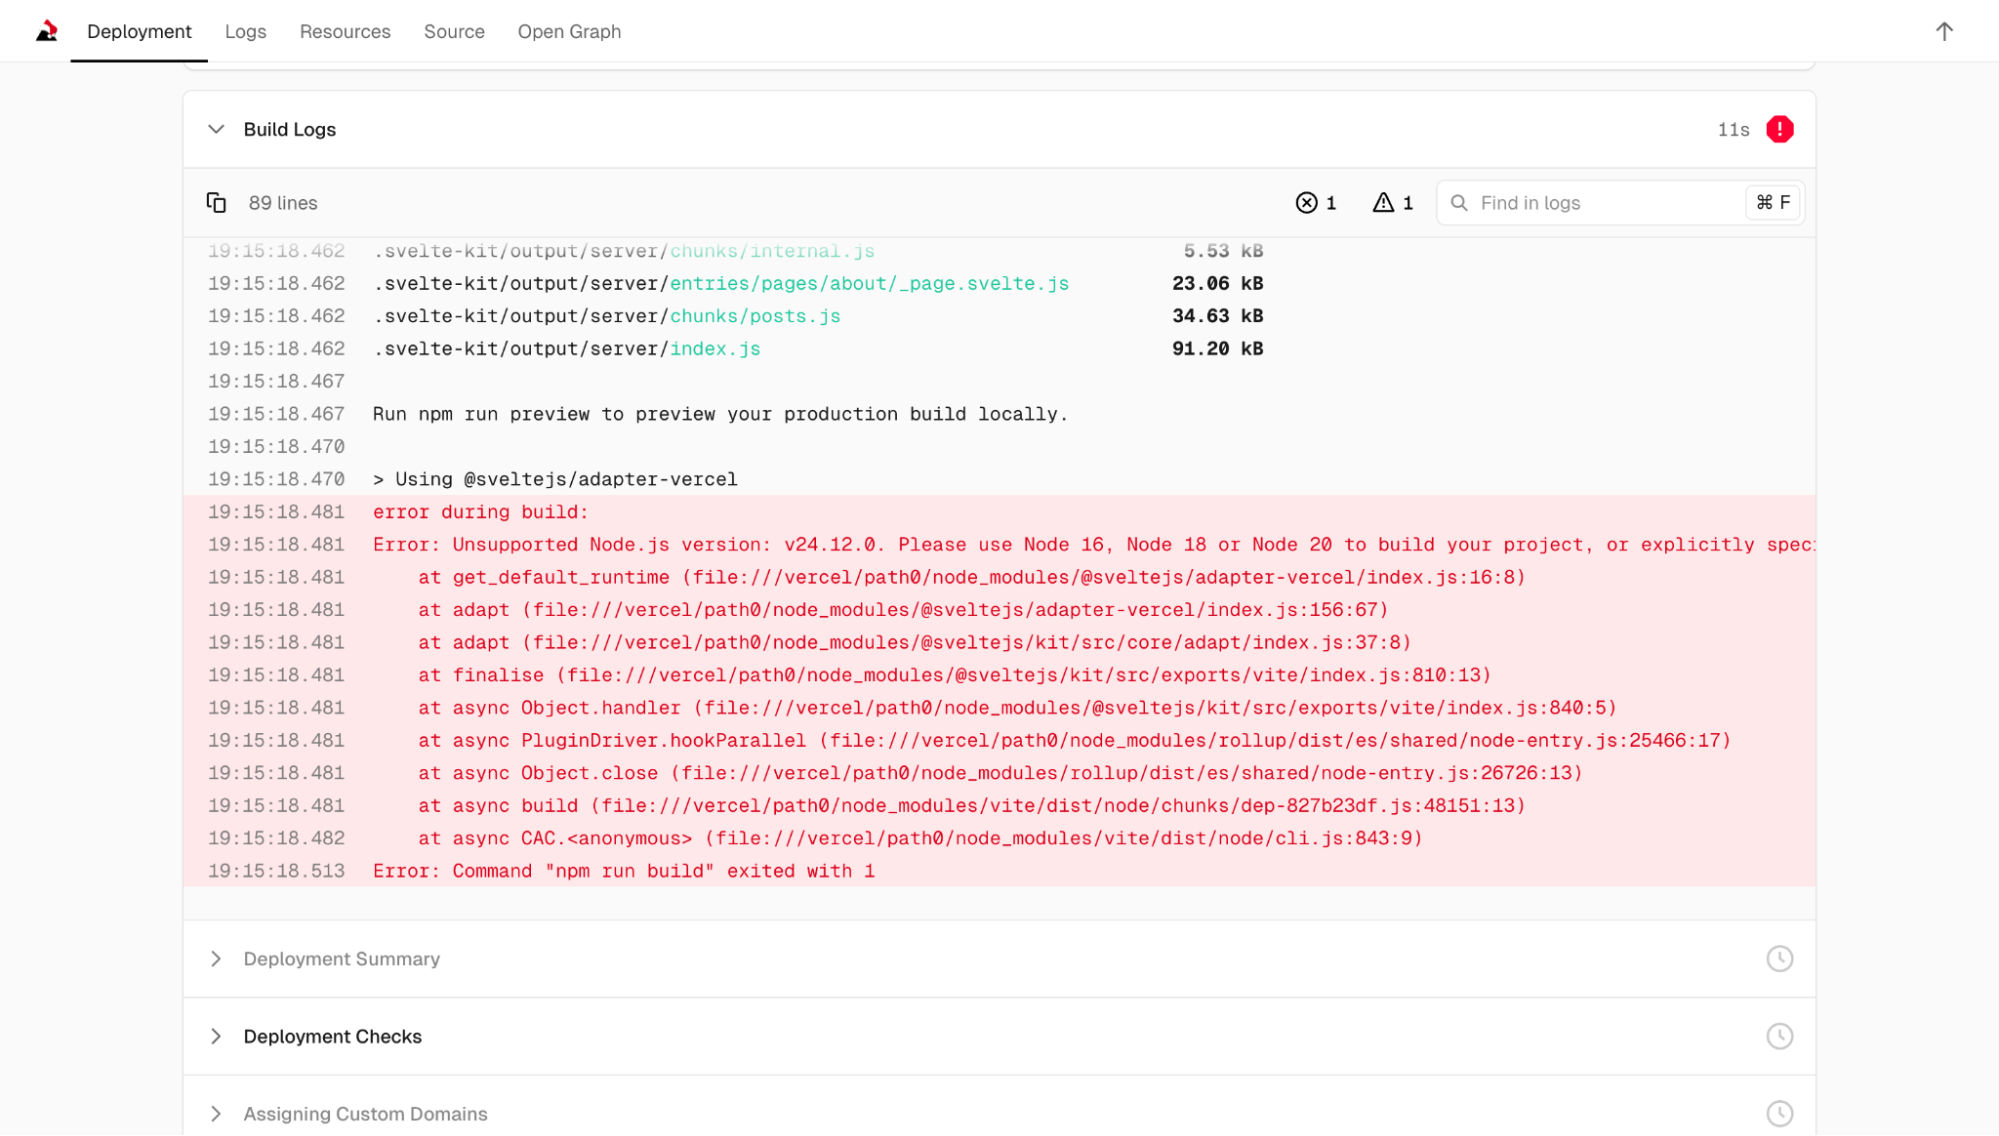
The error message was:
Error: Unsupported Node.js version: v24.12.0. Please use Node 16, Node 18 or Node 20 to build your project, or explicitly specify a runtime in your adapter configuration.Vercel was using Node.js version 24, but the version of SvelteKit adapter I had installed only supported up to version 20. My local computer had version 20, so I never saw this problem during development.
I went back to Windsurf and asked:
"The Vercel deployment failed because of Node.js version. It says to specify a runtime in the adapter configuration."
The AI edited the svelte.config.js file to add a runtime specification:
adapter: adapter({
  runtime: 'nodejs20.x'
})
Then I needed to push this change to GitHub so Vercel would try again:
"Commit this change and push to GitHub."
The AI ran:
git add -A

git commit -m "Fix: Specify Node.js 20 runtime for Vercel"

git push
Within seconds of the push completing, Vercel detected the change and started a new deployment. This time it succeeded.
Step 5: Your Site Is Live
After a successful deployment, Vercel gives you a URL. It's a subdomain of vercel.app—something like bio-bogore.vercel.app. This is your live website. Anyone with the URL can visit it.
You can also connect a custom domain. In Vercel's dashboard, go to your project settings, find "Domains," and add the domain you own. Vercel will give you DNS records to add at your domain registrar (wherever you bought the domain—Namecheap, GoDaddy, Google Domains, etc.). Once the DNS propagates—which can take anywhere from a few minutes to 48 hours—your site will be accessible at your custom domain.
The Ongoing Workflow
Here's what the workflow looks like going forward:
- Make changes locally (edit files, test with
npm run dev) - When you're happy with the changes, ask Windsurf to commit and push
- Vercel automatically deploys the new version
- Within a minute or two, your live site is updated
One conceptual note that confused me initially: the difference between "building" and "deploying." Building is the process of converting your source code into optimized files that browsers can run efficiently. Deploying is the process of putting those files on a server where people can access them. When you run npm run build locally, you're building. When Vercel pulls your code from GitHub, builds it on their servers, and makes it available at a URL, that's deploying. Vercel does both automatically, which is why they feel like a single step once it's set up.
The Concepts You Need to Understand
Having walked through the process, let me extract the concepts that actually matter. These are the things you'll encounter regardless of which AI tool or framework you use.
The Terminal: This is the text-based interface where you type commands. It looks intimidating if you've never used it, but you only need a handful of commands: cd to change directories, npm install to install dependencies, npm run dev to start the dev server, npm run build to create production files. The AI will tell you which commands to run; you just need to know how to run them.
Package Managers (npm): Node Package Manager is how JavaScript projects handle dependencies—other people's code that your project relies on. When you run npm install, it reads a file called package.json that lists all the dependencies and downloads them. When you add a new tool, you run npm install tool-name and it gets added to your project.
The Dev Server vs Production Build: The dev server is optimized for development—fast refreshes, helpful error messages, unminified code. The production build is optimized for end users—small file sizes, fast loading, no debugging information. You use the dev server while building; you deploy the production build when you're done.
Version Control (Git): Git tracks changes to your code over time. A "commit" is a snapshot of your project at a specific point. A "repository" is the entire history of commits. GitHub is a website that hosts repositories and provides collaboration features. You don't need to understand Git deeply, but you need to know that git add, git commit, and git push are how you save and upload changes.
Environment Issues: The most common problems you'll encounter are environment issues—your computer is set up differently than the AI expects, or the versions of tools don't match. Error messages usually tell you what's wrong, even if the language is technical. Pasting error messages into the AI conversation is usually enough to get a solution.
Things to Avoid
Based on my experience, here are specific mistakes to avoid:
Don't try to understand everything before starting. You'll learn by doing. Concepts that seem abstract will become concrete when you encounter them in context.
Don't ignore error messages. They contain information. Even if you don't understand them, the AI does. Copy the full error message and paste it into your conversation.
Don't make huge changes all at once. Small iterations are easier to debug. If you change five things and something breaks, you won't know which change caused the problem.
Don't assume your first attempt will be your final design. Plan to iterate. The ability to change things quickly is one of the main advantages of this approach.
Don't forget to test on mobile. Open your site on your phone during development. Responsive design issues are common and easy to miss if you only look at the desktop version.
Don't store sensitive information in your code. API keys, passwords, and personal data shouldn't be in files that you push to GitHub. For a personal blog this usually isn't relevant, but it's a habit worth developing.
What Happens When Things Break
Things will break. Error messages will appear that you don't understand. The site will look wrong in ways you didn't expect. The AI will make changes that introduce new bugs.
This is normal. It's not a sign that you're doing something wrong or that the tools don't work. It's inherent to the process of building software.
When something breaks, the approach is systematic:
- Read the error message, even if you don't fully understand it
- Copy the relevant part and share it with the AI
- Let the AI propose a fix
- If the fix doesn't work, describe what happened
- Repeat until the problem is solved
Most problems fall into a few categories:
Syntax errors: You (or the AI) typed something incorrectly. The error message usually points to the specific line and character.
Missing dependencies: The code tries to use a library that isn't installed. The fix is usually npm install library-name.
Version conflicts: Different parts of your project expect different versions of the same tool. This requires either updating or downgrading packages.
Logic errors: The code runs but doesn't do what you expected. These are harder to diagnose because there's no error message—you just see wrong behavior.
For logic errors, the debugging strategy is to isolate the problem. Remove parts of the code until you find the smallest example that still exhibits the bug. Then describe that minimal case to the AI.
The Bigger Picture
I want to step back and address what this approach actually means for marketers and non-technical founders.
This is not a replacement for hiring developers. If you're building a complex product that will serve thousands of users, you need professional engineering. AI assistants can help you build prototypes and personal projects, but they can't architect systems at scale or maintain codebases over years.
What this is, is a way to collapse the time between having an idea and seeing it realized. You can build a landing page in an afternoon instead of waiting for a designer's availability. You can test a concept before investing money in development. You can maintain a personal online presence without recurring fees to platforms.
It's also a way of learning. Every project teaches you something about how web development works. The concepts accumulate. The vocabulary becomes familiar. You start to understand the shape of the system even if you don't understand every detail.
Ben Tosell, who built a no-code education company that was acquired by Zapier, wrote about a similar experience with AI coding tools. He described it as "learning a new programmable layer of abstraction." When he was building with no-code tools, the abstraction was drag-and-drop interfaces. Now the abstraction is natural language conversation with an AI that writes code.
The people who will get the most from this are the ones who are willing to start before they feel ready. Pick a project—a personal site, a landing page, a simple tool—and start building. Accept that the first version will be imperfect. Accept that you'll encounter problems you don't know how to solve. The AI will help you through them.
The worst case scenario is that you spend a few hours and don't finish. The best case scenario is that you build something that would have taken weeks or thousands of dollars by any other method.
Now go build something.